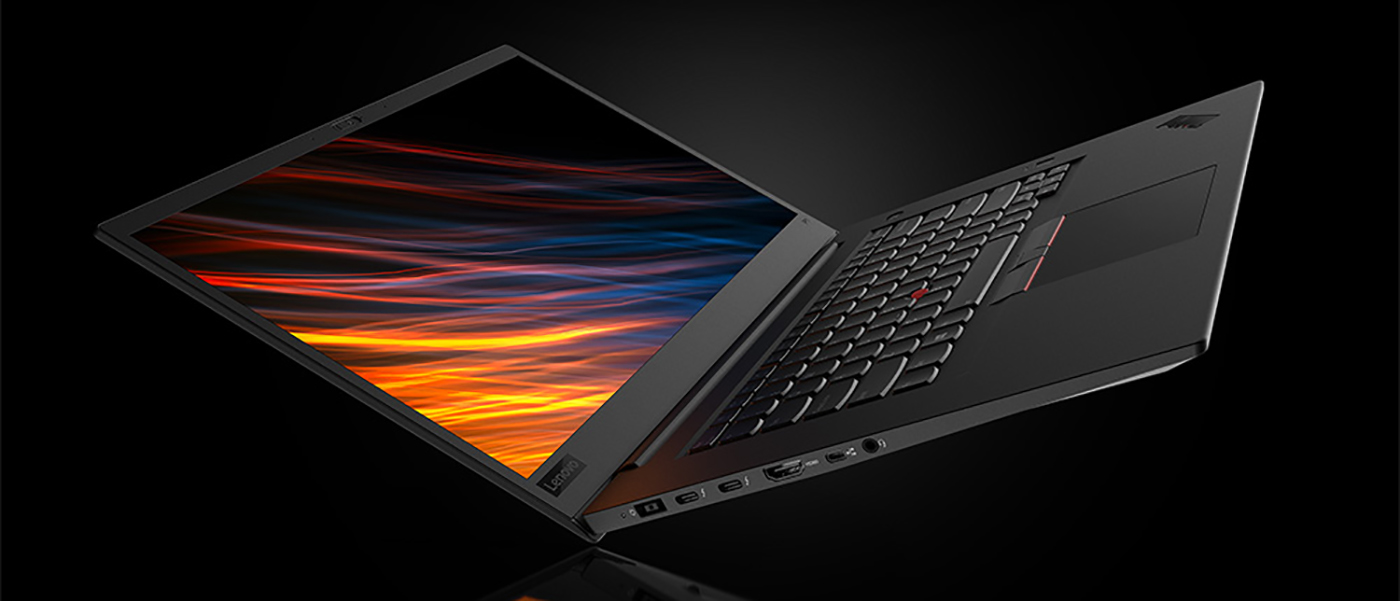
The ThinkPad P1 is a fantastic machine for running intensive applications whilst also maintaining portability and a 15″ screen. The P1 has recently joined my ThinkPad family. Upon taking delivery of any ThinkPad, it’s recommended to take a full backup of the device so that in the event of any unforeseen catastrophes you are able to perform a recovery. If you decide to resell the computer at a later date then being able to restore it to the factory state is a huge plus. Clonezilla is an open source partition and disk imaging/cloning program. Here’s how I used it to image my ThinkPad P1 which was delivered with BIOS version 1.08 (N2EUJ03W):
- Create a bootable USB containing Clonezilla.
- On the ThinkPad P1, temporarily disable Secure Boot in the BIOS. This is found under the Security tab.
- Whilst in the BIOS, navigate to the Config tab, select display and select ‘discrete graphics’
- Insert the USB drive, reboot and hit F12 to bring up the boot menu
- Select the USB drive as the boot device
- Select the option ‘boot to RAM’ in Clonezilla
On the 1TB drive, the partition layout is as follows:
# fdisk -l /dev/nvme0n1

Disk /dev/nvme0n1: 953.9 GiB, 1024209543168 bytes, 2000409264 sectors

Units: sectors of 1 * 512 = 512 bytes

Sector size (logical/physical): 512 bytes / 512 bytes

I/O size (minimum/optimal): 512 bytes / 512 bytes

Disklabel type: gpt

Disk identifier: 4D1E8875-EFD3-4E81-BC58-691234657860

Device Start End Sectors Size Type

/dev/nvme0n1p1 2048 534527 532480 260M EFI System

/dev/nvme0n1p2 534528 567295 32768 16M Microsoft reserved

/dev/nvme0n1p3 567296 1998360575 1997793280 952.6G Microsoft basic data

/dev/nvme0n1p4 1998360576 2000408575 2048000 1000M Windows recovery environment

#

# File system is got from ocs-get-part-info. It might be different from that of blkid or parted.

/dev/nvme0n1p1 vfat

/dev/nvme0n1p2 bitlocker

/dev/nvme0n1p3 ntfs

/dev/nvme0n1p4 ntfs
I used the Clonezilla option to save all 4 partitions to a local server using SSH. Clonezilla will compress the images of the partitions that it stores – in my case it reduced the 40GB of Windows 10 filesystem data (ie, the “C:” drive) down to approximated 14GB of space.
Once the process is complete, return to the BIOS and revert the earlier settings as follows:
- On the ThinkPad P1, enable Secure Boot in the BIOS. This is found under the Security tab.
- Whilst in the BIOS, navigate to the Config tab, select display and select ‘hybrid graphics’.
